Table of Contents
- What You'll Need Before You Start Preparing DTF Files
- Step 1: Set Up Your Canvas at the Final Print Size
- Step 2: Choose the Right DTF File Format for Your Artwork
- Step 3: Nail Your DTF Print Resolution at 300 DPI
- Step 4: Create a Transparent Background for DTF Transfers
- Step 5: Clean Up Edges, Fine Lines, and Semi-Transparent Pixels
- DTF Artwork Requirements: A Software-Neutral Preflight Checklist
- Common Mistakes That Ruin DTF Transfers (and How to Fix Them)
- Frequently Asked Questions
Last Updated: October 12, 2026
What You'll Need Before You Start Preparing DTF Files
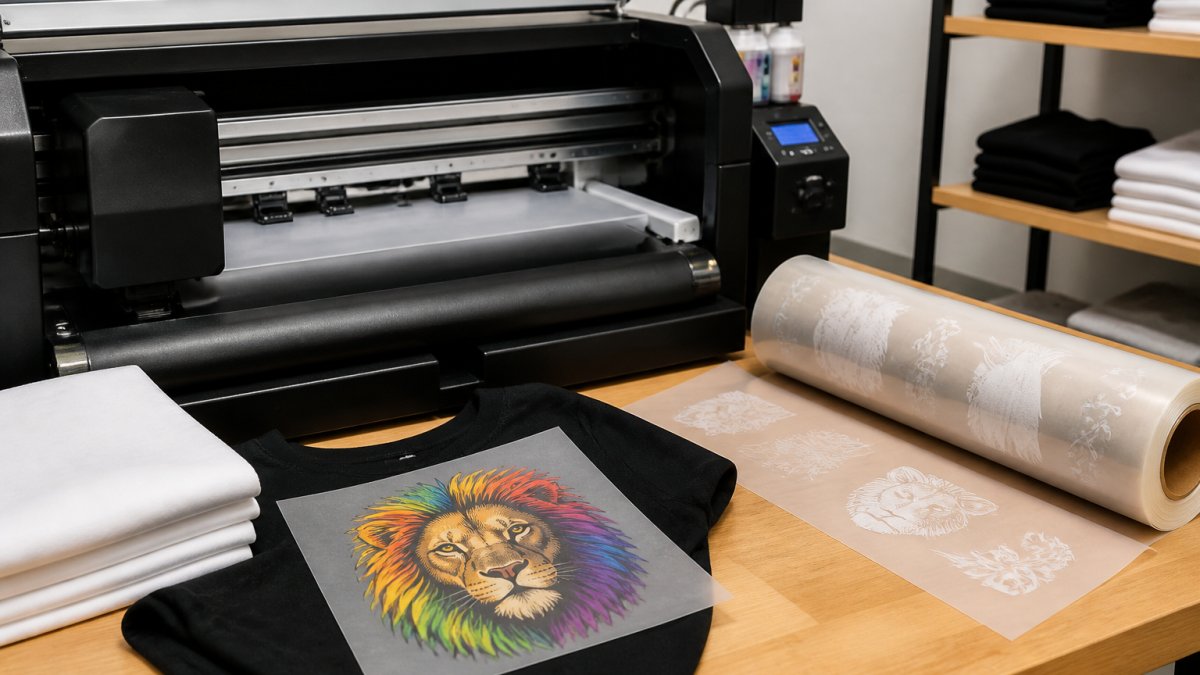
A clean DTF printing transfer starts long before you hit export. Knowing how to prepare files for DTF printing means building your artwork at the right size, resolution, and format from the first click.
Here is what you need before you open your design software:
- Your final print dimensions in inches, confirmed in advance
- Design software that supports layers and transparency (Photoshop, Illustrator, Affinity, or Canva Pro)
- A minimum of 300 DPI at final print size
Skip any of these and you risk a soft, cracked, or patchy transfer.
Step 1: Set Up Your Canvas at the Final Print Size
Your canvas should match the exact dimensions of the printed transfer, not the size it appears on screen. A 10-inch wide chest logo needs a 10-inch canvas at 300 DPI, 3,000 pixels across. Most beginners build art at whatever size looks good on their monitor, then scale it up later, ruining the result.
Set your canvas like this:
- Open a new document in your design software
- Enter width and height in inches (or millimeters for metric work)
- Set color mode to RGB, not CMYK (DTF printers use RGB profiles)
If you are coming from a print background, RGB will feel wrong. For DTF, it is correct. Adobe's guide to color modes explains the difference clearly.
Step 2: Choose the Right DTF File Format for Your Artwork
The best DTF file format is a transparent PNG or a print-ready PDF. Both preserve an alpha channel and carry high-resolution raster or vector art. JPEG cannot store transparency, so the printer reads the whole rectangle as artwork and lays down a solid white underbase behind it.
Here is how the common formats stack up for DTF work:
| Format | Transparency | Best For | Watch Out For |
|---|---|---|---|
| PNG | Yes (alpha channel) | Raster art, photos, most DTF jobs | Large file size at 300 DPI; use PNG-24, not PNG-8 |
| Yes, if exported with transparency on | Vector logos, print-ready files | Flattening on export silently removes transparency | |
| SVG | Yes | Vector artwork, scalable logos | Needs rasterizing to PNG at 300 DPI before many RIPs accept it |
| TIFF | Yes | Archival raster, layered handoff | Huge files; confirm your printer's RIP accepts it |
| JPEG | No | Never for DTF | Solid background blocks white ink and prints as a rectangle |
Export paths by software
The format matters less than how you export it. A PNG saved with the wrong settings behaves like a JPEG.
- Photoshop: File > Export > Export As, choose PNG, and confirm "Transparency" is checked. Do not use "Save for Web" with a matte color set, the matte fills your transparent pixels with a solid tone.
- Illustrator: File > Export > Export As > PNG, then set Background Color to Transparent. For PDF, use File > Save As > Adobe PDF and confirm "Preserve Illustrator Editing Capabilities" is on so transparency is not flattened.
- Affinity Designer or Photo: File > Export, choose PNG, and set the Area to "Whole Document" with "Transparent background" enabled in Document Setup.
Verify transparency before you upload
Do not trust the on-screen checkerboard alone, some editors show a white canvas that exports as solid white. Open the exported file in a viewer that shows the alpha channel, or place it over a colored shape. If the color shows through your art's empty areas, the background is genuinely transparent.
How format choice interacts with white ink
DTF printers lay down a white underbase first, then color on top, and the underbase follows the shape of your art's alpha channel.
White elements in your design, white text, highlights, a white logo mark, are treated as color, not underbase.
For a vector logo, export as PDF or SVG first, then rasterize to PNG at 300 DPI at final size.
Step 3: Nail Your DTF Print Resolution at 300 DPI
DTF print resolution should be 300 DPI at the final print size. Lower produces fuzzy edges and lost detail; higher just makes a heavier file with no visible gain, since the printer's output resolution is fixed.
What matters is not the DPI value in your file's metadata but the pixel dimensions divided by the inches you intend to print. A file tagged "300 DPI" that is only 1,200 pixels wide still prints soft at 10 inches, because 1,200 ÷ 10 = 120 DPI.
The pixel math for common DTF sizes
Multiply your intended print width in inches by 300 to get the minimum pixel width. Do the same for height.
| Print size | Minimum pixels (300 DPI) |
|---|---|
| 3 in × 3 in (pocket logo) | 900 × 900 |
| 4 in × 4 in (left chest) | 1,200 × 1,200 |
| 10 in × 10 in (standard front) | 3,000 × 3,000 |
| 12 in × 14 in (large front) | 3,600 × 4,200 |
| 13 in × 19 in (full back) | 3,900 × 5,700 |
If your source file is smaller than the minimum for your target size, you have three options: print smaller, redesign at the correct size, or accept a softer result. Upscaling is not one.
Why upscaling does not work
Resampling software interpolates between existing pixels, guessing each new pixel's color from its neighbors. That guess is fine for smooth gradients and terrible for edges, text, and fine linework.
A common pattern: a customer pulls a logo off a website, upscales it, and wonders why the transfer looks fuzzy. The file passed the DPI check but failed the detail check.
Resolution and viewing distance
Not every design needs the same resolution. A left-chest logo viewed from arm's length can hold fine detail at 300 DPI, while a full-back design viewed from several feet away can often get away with slightly less, since the eye cannot resolve the same detail at distance.
For DTF, the safe default is still 300 DPI at final size. Drop below it only after testing the specific design and garment.
Check resolution before you export
- Open your image and read the pixel dimensions (not the DPI tag).
- Divide pixel width by intended print width in inches.
- Divide pixel height by intended print height in inches.
- If either result is under 300, the file is too small for that size.
A 3,000-pixel-wide image printed at 10 inches is exactly 300 DPI; at 12 inches it drops to 250 DPI and looks soft. The fix is not to resample but to print at 10 inches or rebuild the art larger.
If you are preparing a gang sheet with multiple designs, check resolution for each design at its own final size. A sheet that mixes a 3-inch logo and a 12-inch back print needs both to meet 300 DPI independently.
Step 4: Create a Transparent Background for DTF Transfers
A transparent background for DTF transfers is not optional. It tells the printer where the white ink underbase goes and where the garment shows through. Without it, your transfer prints as a rectangle.
How to build one:
- Delete the background layer entirely, do not hide it
- Check for a checkerboard pattern behind your art
- Remove any white boxes or color fills behind the design
DTF printers lay down white ink first, then color on top, and that underbase follows the shape of your art. An opaque background makes the underbase cover the whole rectangle, producing a stiff, heavy patch.
Step 5: Clean Up Edges, Fine Lines, and Semi-Transparent Pixels
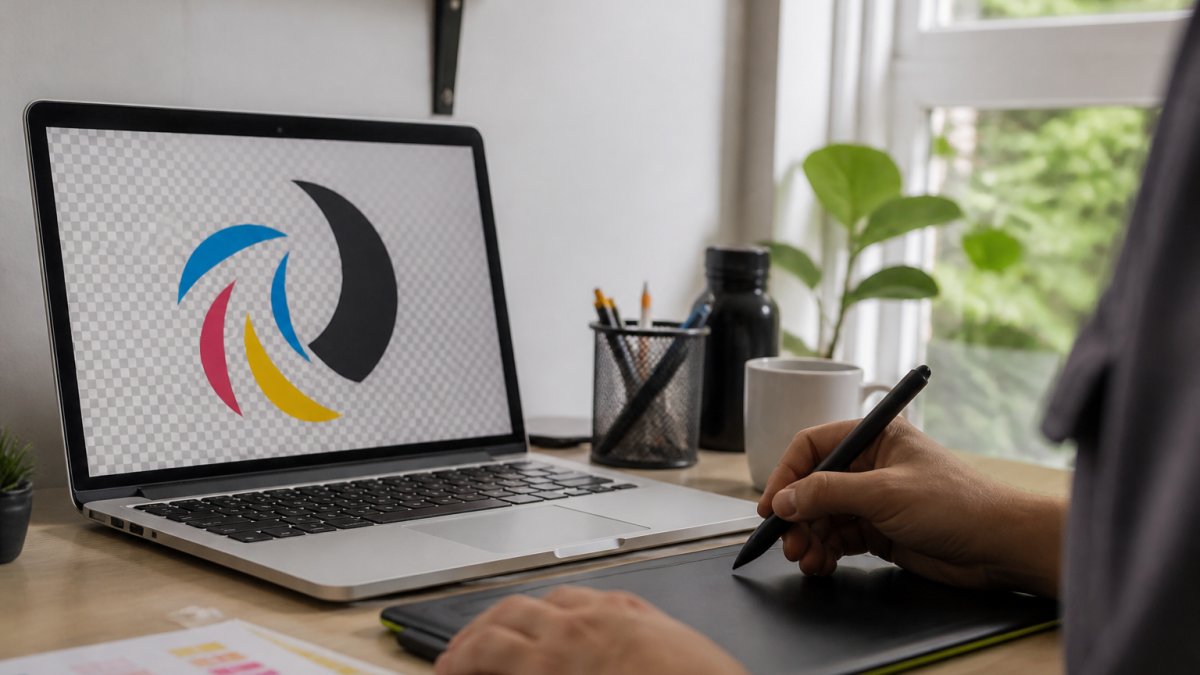
Soft edges and semi-transparent pixels are the silent killers of DTF quality, fine on screen, but a halo or rough outline on the garment.
Run these cleanup steps before you export:
- Remove stray pixels. Zoom in and delete any leftover specks around the edges of your art.
- Flatten feathered edges. A feathered or blurred edge becomes a semi-transparent zone the printer cannot read cleanly. Sharpen or harden the edge.
- Check fine lines. Lines thinner than about 1 point may break up during printing. Thicken them or remove them.
To spot problems fast, place your art on a bright magenta background, every stray pixel and soft edge becomes obvious.
DTF Artwork Requirements: A Software-Neutral Preflight Checklist
DTF artwork requirements are the same no matter what software you use. Run this checklist before every upload.
Preflight checklist:
- Canvas matches final print size in inches
- Resolution is 300 DPI at that size
- Color mode is RGB
If your design uses white ink as a color inside the art, flag it separately, white elements are treated differently from the white underbase.
If you are unsure whether your file is ready, our team at C3 DesignsBiz checks every DTF file before it hits the press.
Common Mistakes That Ruin DTF Transfers (and How to Fix Them)
Most DTF failures trace back to one of five file mistakes.
| Mistake | What Happens | The Fix |
|---|---|---|
| 72 DPI file | Blurry, soft edges on the garment | Rebuild at 300 DPI at final size |
| Opaque background | Prints as a stiff rectangle | Delete the background layer, save as PNG |
| Feathered edges | Halo or fuzz around the art | Harden the edges, remove anti-aliasing |
| Tiny text or thin lines | Details break up or vanish | Enlarge or simplify the detail |
| JPEG export | No transparency, blocked white ink | Re-export as PNG or PDF |
One more mistake: designing on a white canvas and forgetting to remove the white. It looks transparent on screen because the canvas is white, but it is not, toggle the transparency view before you save. If a print still comes out wrong, the file is almost always the cause, not the machine.
Frequently Asked Questions
What is the best file format for DTF printing?
PNG is the most reliable choice for DTF printing because it supports a transparent background and keeps pixel data intact. Print-ready PDF also works well for vector artwork and layouts with multiple elements. JPEG is acceptable only when the artwork has a solid background you intend to print, since JPEG cannot store transparency. SVG and other vector files are ideal for logos and text because they scale without losing sharpness, but you should export them to PNG or PDF at 300 DPI at final print size before uploading.
What resolution should artwork be for DTF printing?
Set your DTF print resolution to 300 DPI at the final print size, not at a smaller size you plan to scale up later. A 10-inch-wide design needs roughly 3000 pixels across. Anything under 200 DPI will look soft or pixelated once pressed onto fabric, and upscaling a low-resolution file in your design software adds blur, not detail. Always check the pixel dimensions of the file against the physical dimensions you need before you export.
Should DTF artwork have a transparent background?
Yes. A transparent background for DTF transfers tells the printer exactly where the white underbase and color ink should sit. If your file has a solid white or colored background, the printer will lay down ink across the entire canvas, which wastes material and leaves a visible box around your design on the garment. Remove the background in your design software, then zoom in to confirm no stray pixels or faint halos remain along the edges before you export.
Do DTF files need to be mirrored before printing?
Mirroring is usually handled by the transfer producer, not the customer, so most artwork files should be uploaded in their normal, readable orientation. If you are printing your own transfers on a DTF printer, mirror the image before printing so it reads correctly after pressing. When in doubt, upload the unmirrored version and note any special instructions. Sending a pre-mirrored file to a print shop that also mirrors it will produce reversed text on the final garment.
Bad DTF files waste material, time, and money, and rush jobs leave no room for a redo. C3 DesignsBiz handles same-day custom design and printing with a nationwide turnaround, and we review your artwork before it prints so problems get caught early. Our team offers fast turnaround, premium printing quality, and a full range of DTF transfers, business cards, banners, and event materials. Get started with C3 DesignsBiz and get print-ready files turned into transfers you can trust.